 |
| Red Dots indicate the general ward spots during the laning phase |
Picking off from where we left off on our last Support Overview post, this post will cover some general ward placements in lane for support players along with the reasoning and purpose of their placement. This post will consist of two sections, one covering ward placements for the blue side of the map, and the other covering ward placements for the purple side of the map. Many of the points for the blue side still applies to the purple side but there are some other benefits or factors regarding the wards depending on the side.
The Tri-Bush Ward
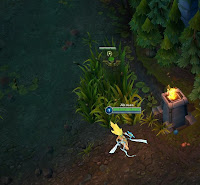
 The tri-bush is one of the most important spots to have vision on when playing on the blue side. A lot of the time in the bot lane, your goal is to push the wave early on to hit a quick level 2 and bully your lane opponent. However, by pushing the wave, you leave yourself exposed to a potential gank from behind. While having vision on the dragon area of the river will prevent the enemy jungler from going their blue buff exit to the tri-bush, it does not stop them from sneaking through the bushes around mid lane and entering your jungle through the wraith camp area. Once the jungler ends up behind you, it can be very difficult to escape the gank especially if their lane has some form of hard crowd control effect. By warding the tri-bush, you can see when the enemy jungler approaches your lane and can react by retreating back towards your tower. However, if you are short on wards in your inventory and have other key areas that need vision, you can have your mid laner or jungler ward around the entrance to your jungle by the wraith camp to spot any movement into your jungle by the enemy team.
The Dragon Ward

This ward that is usually placed in front of the dragon pit serves two key purposes. The first is that it gives you vision on the dragon so you will know whether the enemy is trying to take it or not. The second is that it covers one of the jungle exits for the purple side team. By having vision on this area of the river, your team will also be able to spot some potential ganks coming from the enemy mid laner or jungler since the river is a common gank path. This area is also one of the locations where you will most likely want to use a pink vision ward to cover if available. Due to dragon being such a high priority objective in the early and mid stages of the game, the enemy team is likely to place their own ward on it. By denying them vision, you not only clear a gank path for your jungler, but you also have the ability to take the dragon without the enemy team being aware.
The Lane Bush Wards
 |
| Your own lane bush ward |
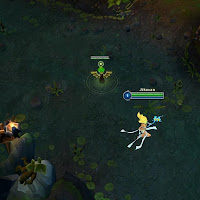
Bush control is a key aspect to win the 2v2 bottom lane. If the enemy lane is camping bushes that have no vision on them, they exert a lot of presence and pressure on the lane and make it harder for your AD carry to farm. By warding the bush and gaining vision of anyone inside of it, the enemy team no longer has the same amount of presence since there is no more element of surprise or the danger of the unknown. Lane bush wards are especially useful when laning against an enemy support with heavy crowd control such as Leona, Thresh, Blitzcrank, Taric, or Alistar. A blind hook or stun combo from the enemy support could mean death for you or the AD carry. I typically only ward one of these lane bushes depending on where the creep wave is currently located in the lane. Warding both bushes constantly can be very costly and inefficient.
 |
| Enemy lane bush ward |
In addition for lane presence and control, having wards in the lane bushes can prevent the enemy jungler from a lane gank attempt. When the lane is pushed beyond the field of vision of the bush entrance, a jungler can easily sneak into it and can prepare a close ranged engage when you are not suspecting it. On the other hand, by placing a pink vision ward in a bush, you can deny the enemy any vision they may have had and set up your own gank with your jungler.
The River Bush Ward

This ward spot provides somewhat limited vision but is useful if you are tight on gold and wards. It will most likely spot ganks if you are very pushed up to the enemy turret and the enemy jungler is ganking through the river path. It can also spot the enemy bot lane heading towards dragon if they have pushed their lane up and disappeared. Since the enemy team is more likely to clear your wards out of the dragon pit when preparing it, having wards on key travel points towards the pit can help you identify when they are planning on taking it.
The Enemy Turret Bush Ward
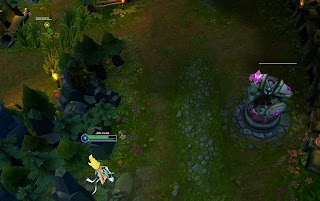
 The last ward I will be covering for the blue side is the bush located to the left of the purple side turret. This ward is particularly useful for when you are constantly pushing up to the enemy turret or when facing long range gap closing junglers such as Nocturne and Zac. The enemy turret bush is often a good gank path for the purple side jungler when the blue side lane is pushed due to how overextended the lane would be. A combination of crowd control from the lane such as an ability or exhaust can buy enough time for the jungler to close the short distance and secure a kill. By warding that bush along with having vision around the river, you can safely push and secure a tower for your team. Another instance where you might want to ward that bush is when facing an enemy Thresh. Due to his long range on his lantern ability, he can set up a surprise gank with their jungler before you can even react.
Support - Early Game Warding (Purple Side)
No comments:
Post a Comment